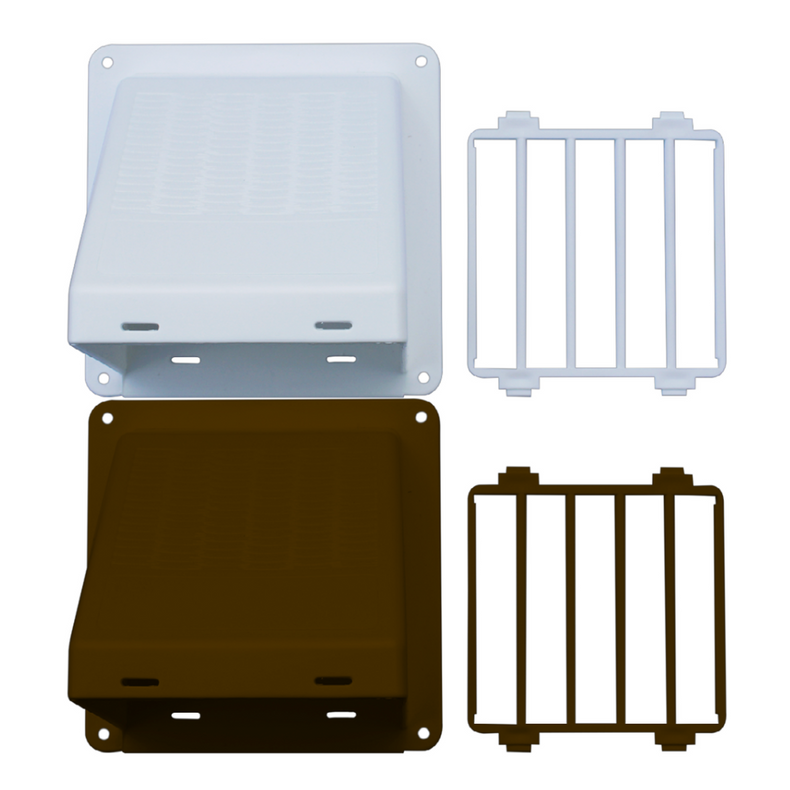
Setting up a dryer vent properly is essential for the efficient operation of your dryer and the safety of your home. A well-installed dryer vent system will ensure that hot, moist air is expelled from your laundry area, preventing mold growth and reducing fire hazards. Here is a step-by-step guide to help you install your dryer vent effectively:
Before you begin, gather the materials: dryer vent duct, dryer vent hood, clamps or foil tape, screws and a screwdriver, dryer vent cleaning tools, drill and appropriate bits, caulking gun, and exterior caulk.
Step 1: Choose the Vent Path
The first step is to determine the best path for the dryer vent duct. The goal is to create the shortest and most direct route from your dryer to the outside of your home. This minimizes the distance that the hot air must travel and reduces the potential for lint buildup.
Step 2: Drill the Vent Hole
Once you have planned your route, you will need to drill a hole in the exterior wall. If you are installing a new vent, use a hole saw to cut a hole slightly larger than the diameter of the vent duct. Make sure the hole is level and at a suitable height for your dryer.
Step 3: Install the Dryer Vent Hood
Place the dryer vent hood over the hole on the exterior wall. The hood should include a backdraft damper to prevent cold air, rain, and pests from entering your home. Secure the hood to the wall with screws, and use exterior caulk around the edges to seal it against the weather.
Step 4: Connect the Duct to the Dryer
Inside your home, attach the dryer vent duct to the exhaust outlet on your dryer. If you are using a rigid or semi-rigid duct, ensure it is the right length and has no sharp bends that could impede airflow. Secure the connection with a clamp or foil tape, ensuring it is airtight.
Step 5: Route the Duct to the Vent Hood
Extend the duct from the dryer to the vent hood. Keep the duct as straight as possible to ensure efficient airflow and prevent lint buildup. Use clamps or foil tape to secure the duct joints, but avoid using screws, which can trap lint.
Step 6: Secure and Seal the Duct
Once the duct is in place, use straps or brackets to secure it to the wall or ceiling at regular intervals. This prevents the duct from sagging or becoming dislodged. Ensure all connections are tight and sealed with foil tape to prevent air leaks.
Maintenance and Safety Tips
Proper maintenance of your dryer vent is essential for safety and efficiency. Here are some tips:
Regular Cleaning: Use dryer vent cleaning tools, such as a brush kit, to remove lint buildup from the duct. This should be done at least once a year, or more frequently if you notice your dryer is taking longer to dry clothes.
Check the Vent Hood: Regularly inspect the dryer vent hood on the exterior of your home. Make sure the flap is operating correctly and there are no obstructions like leaves or snow.
Clean the Lint Trap: Always clean the lint trap in your dryer after each use. This reduces the amount of lint that enters the vent system.
Install Your Dryer Vent Properly
Proper installation and regular maintenance not only improve your dryer’s performance but also enhance your home’s safety. By using our dryer vent cleaning tools, you can keep your dryer operating smoothly for years to come. Contact us today to learn more about our top quality vent cleaning tools.
For more updates, follow us on Facebook.

